
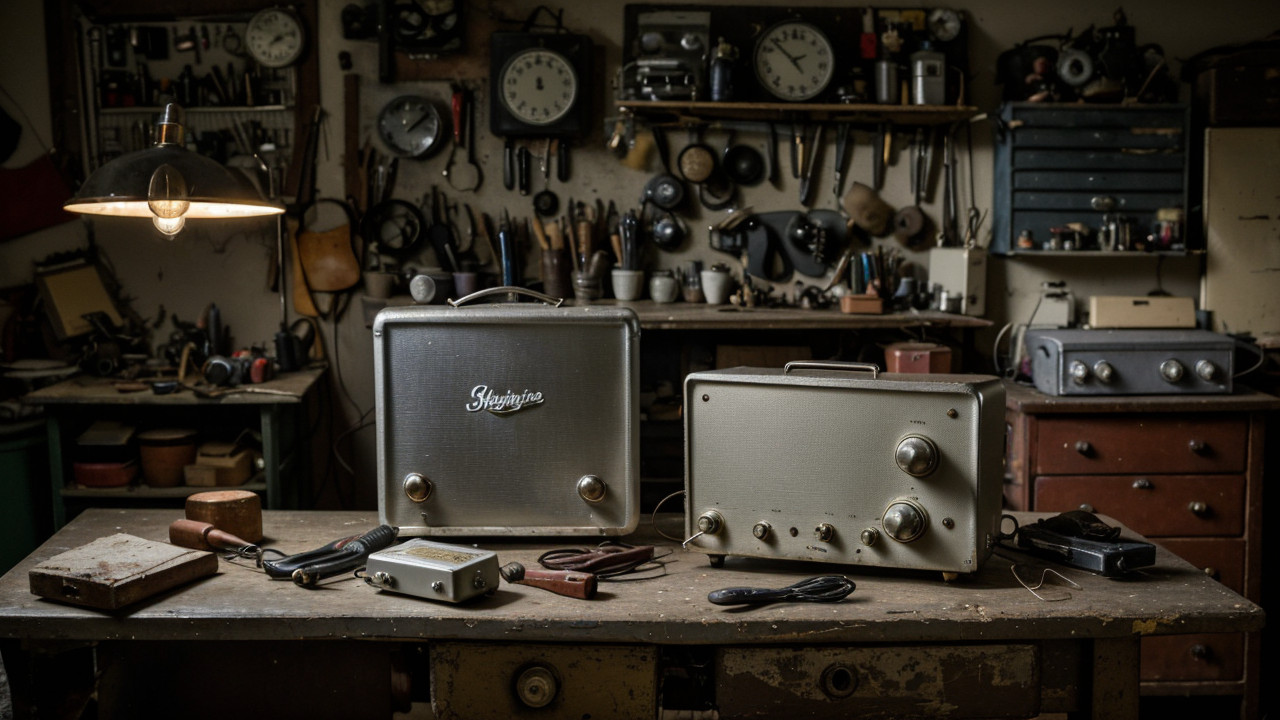

There is a specific, unmistakable magic that comes from the smell of warm vacuum tubes and the glow of a vintage amplifier heating up in a dim studio. For many guitarists, the Silvertone 1481 represents more than just a piece of hardware; it is a portal to a specific era of American music. Originally distributed through Sears, these amplifiers were often overlooked in their time as budget-friendly options, but decades later, they have gained a cult following among enthusiasts who crave that unique, gritty, and harmonically rich tone that modern, mass-produced solid-state gear often lacks.
However, bringing a piece of history like the Silvertone 1481 back to life is not as simple as plugging it in and turning a knob. These vintage units have survived decades of travel, humidity, and varying voltages, and they often arrive at the technician’s workbench in a state of disrepair. Whether you are a seasoned audio professional or a dedicated hobbyist, the process of vintage amp restoration requires a blend of technical precision, historical respect, and a deep understanding of mid-century electronic design.
The Legacy of the Silvertone 1481: More Than Just a Budget Amp
To understand why the Silvertone 1481 deserves such careful restoration, one must look at its place in the hierarchy of vintage audio gear. During the 1960s, the Silvertone brand was synonymous with accessibility. While players were dreaming of expensive Fender or Vox setups, the 1481 provided a reliable, 30W alternative that could punch well above its weight class. This particular model is celebrated for its ability to break up beautifully, offering a midrange punch that works exceptionally well for blues, garage rock, and indie tones.
The allure of this amplifier lies in its simplicity. Unlike the overly complex circuitry found in modern digital modeling amps, the 1481 relies on fundamental tube physics to create its character. When we talk about the Silvertone 1481 circuitry, we are talking about a design that prioritizes direct signal paths and high-gain potential through relatively straightforward component arrangements. This simplicity is a double-edged sword; it makes the amp easier to troubleshoot, but it also means that when a single component fails, the impact on the overall tone is immediate and noticeable.
For those researching the history of these units, various forums and archives, such as ultimate-guitar.com, offer a wealth of anecdotal evidence regarding how these amps were used by touring musicians of the era. Understanding this heritage helps a technician approach the restoration not just as a repair job, but as a preservation of musical culture.
Understanding the 30W Silvertone Amp Architecture
At its core, the 30W Silvertone amp is built around a classic tube architecture designed to deliver moderate power with significant headroom before hitting that sweet saturation point. The power section is the heart of the unit, typically utilizing tubes that can handle the thermal load of continuous operation while maintaining the stability of the output transformer. When performing a vintage amp restoration, the first step is always to map out the signal flow, from the input jack through the preamp stages to the final power stage.
< and p>The architecture of the 1481 is characterized by its specific component values. The way the bias is set and the way the coupling capacitors interact with the grid of the power tubes determines the ‘feel’ of the amp. If you are working on a restoration, you must be careful not to ‘over-modernize’ the circuit. While replacing old, leaky components is necessary, changing the fundamental values of resistors or the type of coupling capacitors can inadvertently strip the amp of its vintage mojo, turning a soulful classic into a sterile, modern-sounding box.
Identifying the Role of the Output Transformer
The output transformer is perhaps the most critical and expensive component in the Silvertone 1481. It is responsible for matching the high impedance of the tube plates to the low impedance of the speaker. In many cases of amplifier troubleshooting, a failing transformer is the ‘silent killer.’ If the transformer has suffered an internal short or has lost its primary winding integrity, the amp may produce a loud, aggressive hum or even fail to produce sound entirely. Because these transformers are increasingly rare, a technician must treat them with extreme care, often opting for repair over replacement whenever possible.
Identifying Common Issues: Troubleshooting Your Vintage Amp
When a vintage amplifier arrives on your bench, the initial diagnostic phase is the most crucial. You aren’t just looking for what is broken; you are looking for *why* it broke. In the world of vintage audio gear, symptoms often mask the true culprit. A loud pop when turning the volume knob might seem like a simple pot issue, but it could actually be a sign of a failing capacitor leaking voltage into the grid, causing the tube to oscillate uncontrollably.
Effective amplifier troubleshooting begins with a systematic approach. Start with the most obvious points of failure: the power cord, the input jacks, and the physical switches. Once the external connections are verified, move into the chassis to inspect the visible health of the tubes and the integrity of the solder joints. It is also helpful to cross-reference technical data found in various industry archives, such as the entries found on ladailypost.com, to ensure you are following standard diagnostic protocols for mid-century electronics.
Dealing with Hum, Buzz, and Signal Loss
The most common complaint among Silvertone owners is a persistent, low-frequency hum. In a tube amplifier, this is almost always related to the power supply section, specifically the electrolytic filter capacitors. Over decades, these capacitors can lose their ability to smooth out the rectified AC voltage, allowing a 60Hz (or 120Hz) ripple to bleed directly into the audio path. This hum can be maddening and can even drown out the subtle nuances of a guitar’s dynamics.
Another common issue is a sudden loss of signal or a highly distorted, ‘farty’ sound. This often points to a failing coupling capacitor. If a capacitor begins to leak DC voltage from the plate of one tube to the grid of the next, it will shift the bias of that subsequent tube, driving it into extreme distortion or even causing it to run dangerously hot. Identifying these ‘leaky’ caps is a fundamental skill in guitar amplifier repair and is often the difference between a successful restoration and a failed one.
Inspecting the Tube Circuitry and Components
Beyond the capacitors, the resistors and the tubes themselves require scrutiny. Resistors in vintage gear can ‘drift’ over time, meaning their resistance value moves away from the original specification. A resistor that has drifted too high can alter the gain structure of the preamp, while one that has drifted too low can cause overheating. Similarly, the tubes themselves are consumables. While a ‘new old stock’ (NOS) tube might provide a beautiful tone, it may not be as reliable as a modern, high-quality replacement. A technician must decide whether to hunt for period-correct tubes or prioritize the longevity of the amp through modern equivalents.
The Restoration Process: A Step-by-Step Guide
Restoration is a journey that requires patience. You cannot rush a Silvertone 1481. The process begins with a thorough cleaning. Decades of dust, nicotine, and debris can settle inside the chassis, creating conductive paths that lead to shorts. Using compressed air and specialized electronic contact cleaners, you can strip away the grime and reveal the true state of the components. This is also the time to clean the potentiometers (pots) and switches, which are notorious for developing oxidation and ‘scratchy’ audio.
Once the cleaning is complete, the ‘recap’—or capacitor replacement—is usually the next major phase. While some purists argue for keeping original components, the reality is that old paper and electrolytic capacitors are ticking time bombs. Replacing them with modern, high-quality film capacitors can significantly improve the reliability and noise floor of the amp. However, as mentioned previously, the goal is to maintain the original Silvertino 1481 circuitry characteristics by choosing components with appropriate voltage ratings and similar ESR (Equivalent Series Resistance) profiles.
Safety First: Working with High Voltage
There is no way to overemphasize this: working on a tube amplifier is inherently dangerous. The voltages present inside a Silvertone 1481 can be lethal. Even after the amplifier has been unplugged, the large filter capacitors can hold a significant electrical charge for hours, or even days. Before touching anything inside the chassis, a technician must use a properly rated discharge tool to safely bleed the voltage from the capacitors to ground.
Furthermore, always work with one hand in your pocket when probing live circuits if you must perform measurements while the amp is powered. This simple habit prevents a current path from traveling through your chest and heart in the event of an accidental shock. For those looking for more technical challenges or puzzles related to electronic logic, resources like gameanswer.net can provide mental stimulation, but in the workshop, your focus must remain entirely on the physical safety protocols of high-voltage maintenance.
Replacing Capacitors and Resistors
When it comes to the actual replacement of components, precision is key. When replacing resistors, always check the wattage rating. If the original resistor was a 1-watt component, do not replace it with a 1/2-watt component, as it will likely fail under the thermal stress of the circuit. For capacitors, ensure the voltage rating is equal to or higher than the original. Using a 450V capacitor to replace a 400V capacitor is perfectly safe and often provides a better margin of error.
The soldering process itself should be clean and efficient. Avoid ‘cold solder joints,’ which can create high-resistance connections and lead to intermittent signal issues. A good technician uses a temperature-controlled soldering iron and high-quality flux to ensure that the new components are mechanically and electrically secure. The goal is a repair that is invisible to the naked eye but transformative to the ear.
Preserving the Tone: Maintenance Tips for Long-Term Reliability
Once the restoration is complete, the work isn’t quite over. Maintaining a vintage amplifier requires a proactive approach. The most important factor in the longevity of a Silvertone 1481 is environmental control. Extreme humidity can cause the wood in the cabinet to swell or shrink, potentially putting stress on the chassis, while extreme dryness can make old components brittle. Keeping your gear in a climate-controlled environment is the best way to prevent the return of the very issues you just worked so hard to fix.
Regularly inspecting the tubes for signs of ‘gassing’ or physical damage, and cleaning the input jacks with a dedicated contact cleaner, can prevent the buildup of oxidation. Additionally, avoid the temptation to ‘tweak’ the circuit with unnecessary modifications. The 1481 is a classic for a reason; its magic lies in its original design. By treating the amplifier with the respect it deserves, you ensure that this piece of musical history continues to sing for decades to come.
TL;DR
- Identify the Core: The Silvertone 1481 is a 30W vintage gem valued for its unique, mid-range heavy tube tone.
- Troubleshoot Systematically: Most issues stem from failing electrolytic capacitors (hum) or leaky coupling capacitors (distortion/bias shift).
- Prioritize Safety: Always discharge capacitors before working inside the chassis to avoid lethal high-voltage shocks.
- Restoration Balance: Replace failing components (recap) to ensure reliability, but avoid changing component values to preserve the original tone.
- Long-term Care: Maintain a stable, climate-controlled environment and perform regular cleaning to prevent oxidation and component degradation.